Customizing the front grill

I started the modification by getting a second hand front grill off eBay. They weren't too expensive and I wanted to experiment a bit before wasting hundreds of euros... I first wanted to know if I really liked the result before pouring more money in it...
This is the grill I got after a bit of cleaning. It is amazing how much dirt and grime can attach itself to a grill... Even though the grill looked pretty good, I had quite a fun evening cleaning it before I could proceed any further... Those vertical ribs are not easy to get to...
Removing the central logo was also not very easy to do. Especially because the metal clip-rings were fastened very well. On the original grill on my car they look quite easy to take off, but this one was causing quite a bit of trouble. I ended up breaking two of the four pins and had to use some power glue to get the logo back on afterwards.

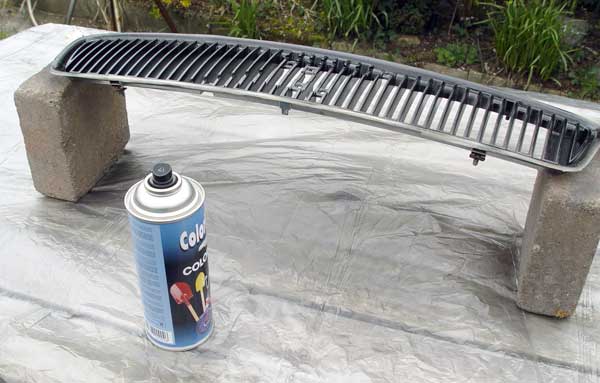
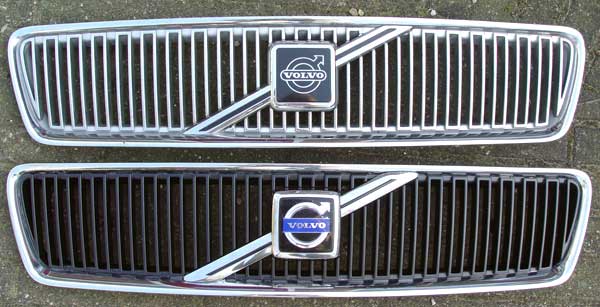
I used very fine 3M SandBlaster 150 sanding paper to roughen up the paintable area on the grill in preparation for the paint job. It is a bit difficult to see what you have done with this very fine sanding paper, but if you let it sit for a day or so after sanding the chrome layer clearly starts to decolorize.

Using the masking tape was probably more work than if I decided to paint the grill of a Lada :-)

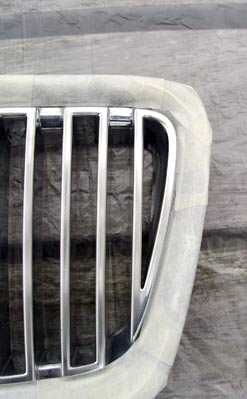
The curves and corners make sure that something that looks like a two minute job can take quite a bit more work to get done properly.

Because the paint will get below anything if you are not careful, be sure to take your time preparing the masking tape, otherwise you will find yourself retouching quite a bit or having an extra job getting the stray paint off the chrome parts of the grill.

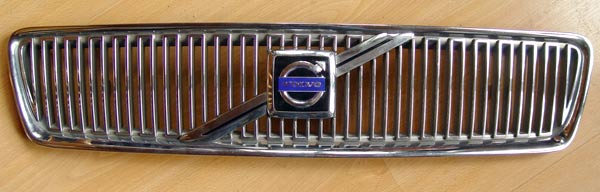
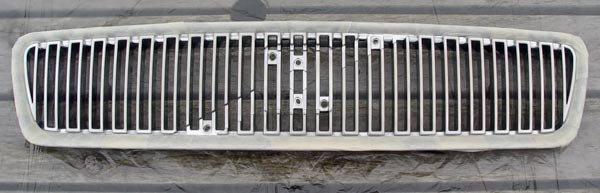
I wanted to keep as much of the chrome rim intact as possible which meant that I had to take extra care getting the masking tape in the right spots.

I think a next time I will give myself a little bit more space, to make life a bit easier and to get an even cleaner result. I don't expect many people to look at the grill that close to notice anyway.

After this I used two layers of transparent plastic primer, hoping this will keep the black paint from chipping in the future. I let it dry for about an hour before I started with the black paint.

I created my own little paintshop outside and sprayed the grill in four thin layers of paint, about 5-10 minutes apart. I also sprayed from the back of the grill to make sure the ribbs were evenly painted on the sides. Make sure you check your work looking from both the front and the sides to make sure you got every spot covered.
I used matte black (silk gloss black) spray paint suitable for painting metal and plastics for this. I figured hi-gloss black would look too much like the original grill when viewed from different angles and under bright lights. It was the first time I used spray paint to paint anything really, and I was amazed at the even coat of paint I managed to produce :-)
This is the end result after 24 hours drying and having re-applied the badge to the grill. Above is the original grill and below the customized one.
And this is the end result of the operation... I hope you like it! I know I do...

© Arnoud Helmantel 2004 - SubstituteMyFirstname@AndMyLastname.com